Mastering the Basics: How to Find Video Resolution and Frame Rate Using VLC
In the realm of video editing and production, an in-depth understanding of technical specifications is your key to unlocking the full potential of your visuals. Two such critical specifications are video resolution and frame rate, which underpin the quality and motion fluidity of your video content. This tactical understanding doesn’t only belong to the digital gurus but extends as a requisite across new media enthusiasts, social media managers, educators, and beyond.
Enter VLC media player, a versatile and free multimedia tool that not only plays virtually any video format but also enables you to unearth the resolution and frame rate jewels invisible to the naked eye. Whether you are refining your company’s video marketing strategy, creating online courses, or producing blockbuster home videos, this blog post will guide you through leveraging VLC to ensure your videos scream professionalism.
The Essence of Video Resolution and Frame Rate
Before we jump into the nitty-gritty of deciphering these technicalities, understanding their significance is paramount. Video resolution denotes the number of pixels that compose the vertical and horizontal lines of your video display. Common resolutions you might have encountered are 720p (1280×720 pixels), 1080p (1920×1080 pixels), and 4K (3840×2160 pixels), with the latter being a go-to for high-definition content.
On the other hand, frame rate refers to the speed at which these pixels refresh to create motion. Standard frame rates include 24, 30, and 60 frames per second (fps). Selecting the right resolution and frame rate for your intended platform or audience can dramatically improve viewing experiences and support your content in standing out.
Unveiling the Secrets with VLC Media Player
The VLC Dashboard
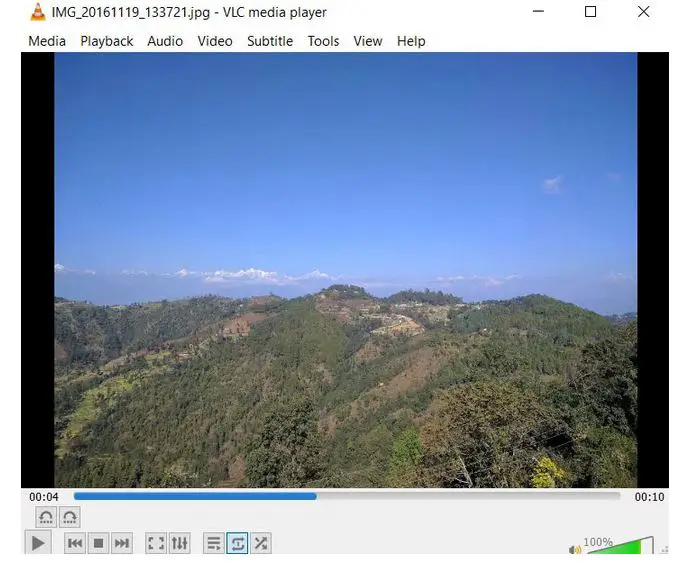
VLC, available for Windows, Mac, and Linux, is your digital Swiss Army knife when it comes to media files. Once downloaded and installed, launch the program. For those unfamiliar, VLC is recognizable by its traffic cone icon.
Opening the Video File
Navigate to the ‘Media’ tab and select ‘Open File’ from the dropdown menu to load the video of your choice. Alternatively, you can use the drag-and-drop method directly onto the VLC dashboard.
Analyzing Resolution
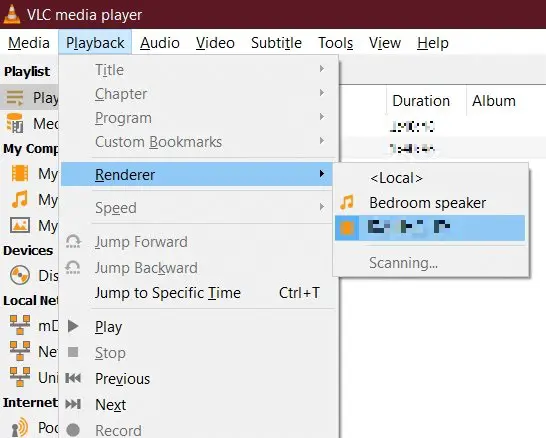
To review the resolution, while the video is playin or paused, go to the ‘Video’ tab and select ‘Video Track’. Within the ‘Video Track’ dropdown, there is an option named ‘Track Information’. Clicking on this will unfold a window with various specifications about the video, including the resolution.
Revealing the Frame Rate
To identify the frame rate, follow the same path as determining the resolution, but instead of ‘Video Track’, select ‘Media Information’. Here, the ‘Codec’ tab will reveal the video’s frame rate along with technical details about the video’s encoding.
Advanced Options and Shortcuts
For your convenience, VLC provides a plethora of keyboard shortcuts that can speed up your analysis. ‘Ctrl+J’ on Windows and ‘Cmd+I’ on Mac will open the media information screen directly without navigating through the dropdown menus.
Optimizing for Your Audience and Platform
Great, you now know how to discover the resolution and frame rate of your videos. But what’s next? How can you use this information to your creative advantage?
Selecting the Perfect Resolution
Different viewing environments necessitate different video resolutions. For example, a video destined for YouTube might look best at 1080p since it’s the platform’s standard for quality. Social media, on the other hand, often favors speed and might see better engagement with a 720p video that loads more quickly on mobile devices.
Balancing the Frame Rate
Choosing the optimal frame rate is a dance between the fluidity of motion and the practicality of file size and processing power. While cinematic experiences thrive at 24 fps, online presentations might benefit from smoother motion at 30 fps, especially on streaming platforms. For fast-paced content or gaming, 60 fps provides the most engaging experience.
Transcoding and Compression
If your video’s specs aren’t aligned with your ideal settings, you can leverage software to transcode or compress your video without quality loss. Tools like HandBrake offer users the power to convert video into desired formats, making them compatible with various platforms and personal preferences.
Conclusion
Understanding and implementing the correct video resolution and frame rate elevates the quality of your content, making your message clearer and more engaging. VLC media player stands as a testament to democratizing these capabilities, empowering creators of all levels to take control of their visual storytelling. By following these guidelines and adapting your video specs accordingly, your audience is sure to notice the difference in the polish and impact of your projects.
Remember, the power of video is in the details. Happy editing, and may your videos always shine with the right resolution and frame rate.


